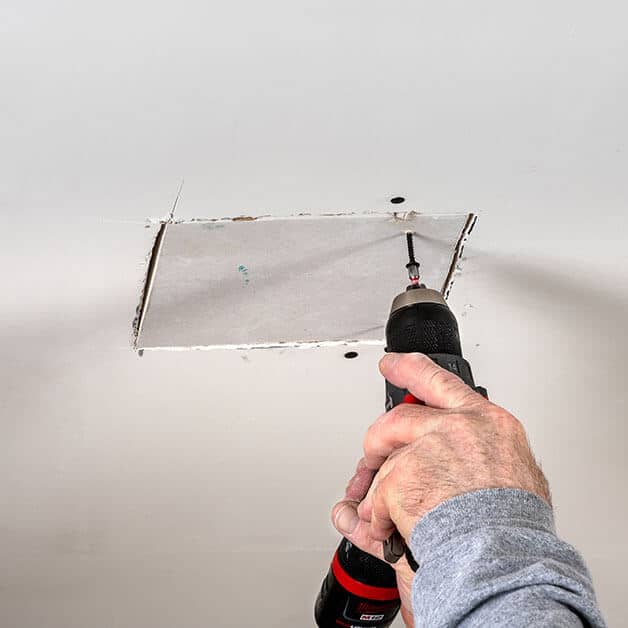
Mastering Drywall Repair: Patch and Perfect Your Walls
Drywall damage is a common issue in homes, whether from accidental impacts, water damage, or wear and tear over time. Fortunately, repairing drywall doesn’t have to be a daunting task. With the right techniques and materials, you can patch and perfect your walls, restoring them to their original condition. Explore the following insights for mastering drywall repair.
Assessing the Extent of Damage
Before diving into repairs, assess the extent of the drywall damage. Identify cracks, holes, or areas with peeling paint or tape. Understanding the scope of the damage helps you plan the necessary repairs and gather the right materials for the job.
Gathering the Essential Tools and Materials
To repair drywall effectively, you’ll need a set of essential tools and materials. This includes joint compound, a putty knife, sandpaper, drywall tape, a utility knife, and primer. Having these items on hand ensures a smooth and efficient repair process.
Preparing the Damaged Area
Prepare the damaged area by removing any loose or damaged drywall material. Use a utility knife to cut away any loose edges and create a clean, well-defined repair area. Sand the edges to smooth out any rough surfaces and create a seamless transition between the damaged and undamaged sections.
Applying Drywall Tape for Reinforcement
For cracks and small holes, applying drywall tape is a crucial step. Place the tape over the damaged area, extending it beyond the edges for reinforcement. The tape helps create a strong bond between the existing drywall and the repair material, preventing future cracks.
Applying Joint Compound with Precision
Once the tape is in place, apply joint compound to fill and smooth the damaged area. Use a putty knife to spread the compound evenly, feathering the edges for a seamless finish. Allow the compound to dry completely before proceeding to the next steps.
Sanding for a Smooth Finish
After the joint compound has dried, sand the repaired area to achieve a smooth finish. Use fine-grit sandpaper to blend the repaired section with the surrounding drywall. The goal is to create a surface that’s level and ready for painting.
Priming for Paint Adhesion
Before painting, it’s essential to prime the repaired area. Primer ensures proper adhesion of the paint and provides a consistent finish. Apply a thin coat of primer over the repaired section and allow it to dry before proceeding with the final painting.
Matching Paint Colors and Textures
Selecting the right paint color is crucial for achieving a seamless finish. Take a sample of the existing paint to a local hardware store for color matching. Additionally, pay attention to the texture of the surrounding walls. Mimic the texture using specialized spray texture products or a textured roller.
Blending Repairs with Existing Wall Finish
Achieving a seamless blend between the repaired area and the existing wall finish is an art. Feather the edges of the repair, gradually reducing the thickness of the joint compound to match the surrounding wall texture. Take your time during this step for a flawless result.
Final Inspection and Touch-Ups
Once the paint has dried, perform a final inspection of the repaired area. Look for any imperfections, uneven surfaces, or color discrepancies. Touch up as needed to ensure the repair is indistinguishable from the surrounding wall.
To delve deeper into the world of drywall repair and discover innovative solutions, visit Repair Drywall Damage. This resource provides additional insights, expert tips, and product recommendations to enhance your drywall repair skills. Mastering drywall repair not only restores the aesthetic appeal of your walls but also saves you time and money compared to hiring a professional.
