Introduction: The Plunger’s Power in Plumbing Emergencies
In the realm of plumbing, a trusty plunger can be your best friend when faced with clogged drains or toilet issues. Mastering the art of using a plunger effectively is a valuable skill for homeowners. In this article, we’ll explore tips and techniques to make the most out of this simple yet powerful plumbing tool.
Choosing the Right Plunger: A Tool for Every Job
Not all plungers are created equal. There are two main types: the cup plunger and the flange plunger. The cup plunger is versatile, suitable for sinks, showers, and bathtubs. The flange plunger, with an additional rubber flap, is specifically designed for toilets. Choosing the right plunger for the task at hand sets the stage for effective plunging.
Creating a Good Seal: The Foundation of Plunging Success
To generate the necessary force for unclogging, it’s crucial to create a good seal between the plunger and the drain or toilet opening. Ensure that the rubber cup or flange completely covers the opening, forming a tight seal. Without a proper seal, the plunger’s effectiveness diminishes, making it harder to dislodge the blockage.
Plunging a Sink or Shower Drain: Technique Matters
For sink or shower drain clogs, follow these steps for effective plunging. First, remove any standing water from the sink or tub. Place the cup plunger over the drain, ensuring it covers the entire opening. Press down firmly, then pull up sharply to create suction. Repeat this motion several times. If successful, the water should start draining freely.
Plunging a Toilet: Specifics for Success
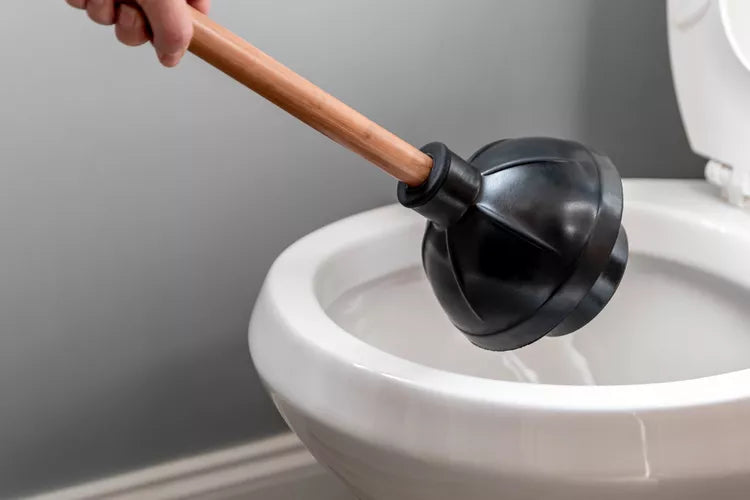
Toilets require a slightly different approach due to their unique design. Start by ensuring there is enough water in the bowl to cover the plunger’s cup. Place the flange plunger over the drain opening, making sure it forms a seal. Gently press down, then pull up with a bit more force. Repeat this motion, maintaining the seal, until the water begins to drain.
Adding Water for Extra Force: Enhancing Plunging Power
If the clog persists, consider adding more water to the fixture before plunging. The additional water heightens the pressure exerted on the blockage, making it more likely to break free. For toilets, pouring a bucket of water into the bowl can supplement the flushing force, aiding the plunging process.
Using Petroleum Jelly: Improving Seal Effectiveness
For an even better seal, apply a thin layer of petroleum jelly to the rim of the plunger cup or flange. This helps create an airtight seal, enhancing the plunger’s suction power. The improved seal increases the chances of dislodging the clog efficiently, especially in cases where the blockage is stubborn.
Knowing When to Seek Professional Help: Limits of DIY Plunging
While a plunger works wonders for many common plumbing issues, there are situations where professional assistance is necessary. If repeated plunging efforts prove unsuccessful or if you suspect a more complex issue, such as a deeper blockage or a sewer line problem, it’s wise to call in a plumber. Attempting to force a plunger in such cases may cause more harm than good.
Preventive Measures: Avoiding Future Clogs
Mastering the plunger is valuable, but prevention is equally essential. Adopt preventive measures to minimize the occurrence of clogs. Dispose of grease properly, use drain screens to catch debris, and avoid flushing items that can lead to blockages. Regular maintenance can help you avoid plumbing emergencies in the first place.
Conclusion: Plunger Mastery for Homeowners
In conclusion, mastering the use of a plunger effectively empowers homeowners to tackle common plumbing issues with confidence. Whether dealing with a clogged sink, shower, or toilet, understanding the right techniques and choosing the appropriate plunger for the task is key. For more plumbing tips and solutions, visit thietbidinhvithongminh.com. Use a plunger effectively and keep your plumbing in top shape.
